Mango has a large flat stone at its centre — sometimes called the almond or kernel — that forces you to cut around it, not through it. If you try to peel it like an apple or a peach, you lose loads of flesh and end up with juice all over your hands. There are better ways. After cutting tens of thousands of mangoes over forty years, these are the four techniques that actually work.
Quick mango anatomy
Before cutting, understand what you're holding:
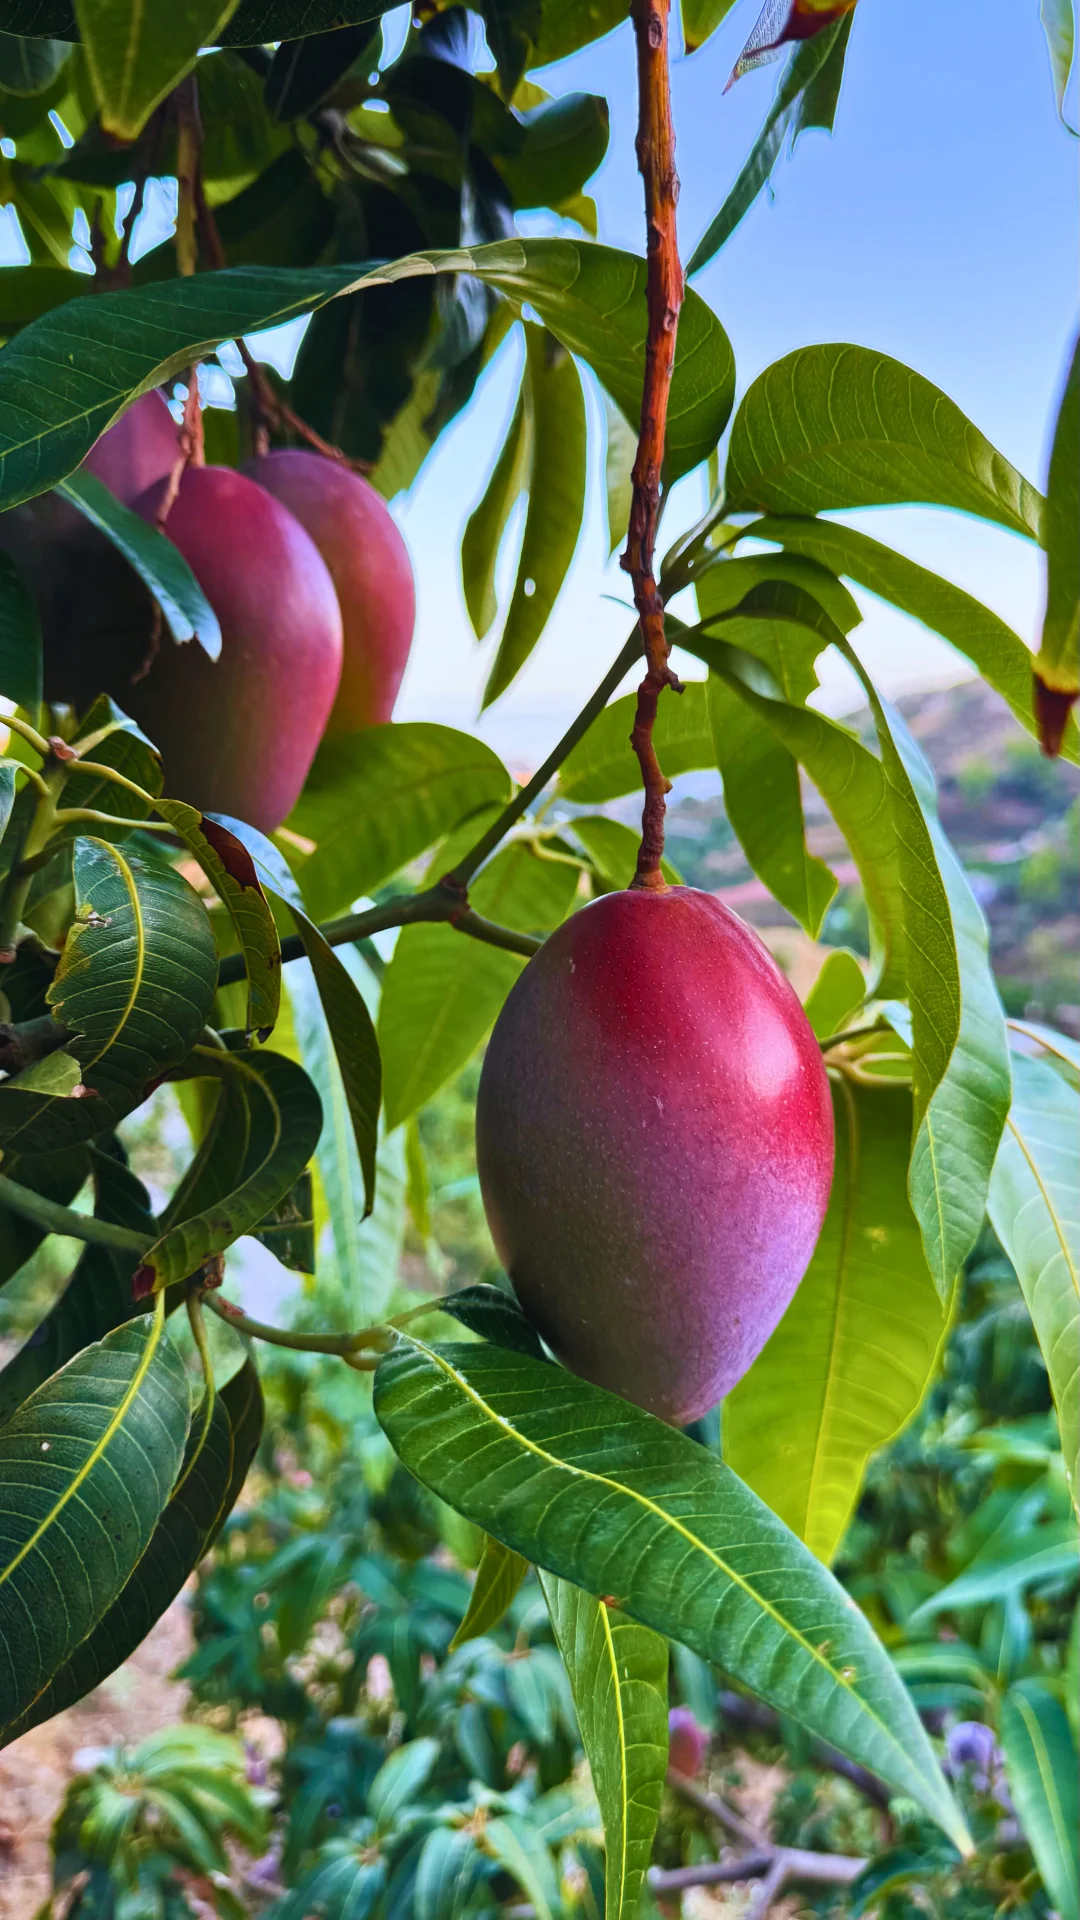
- Shape. Slightly oval and flat, not round. Two broad faces and two narrow sides.
- Stone. Flat, roughly the size of a large sardine, aligned along the same axis as the flat face of the fruit. Hard, fibrous, not edible.
- Flesh. Two large "cheeks" on either side of the stone (about 80% of the fruit) and two smaller side strips near stem and tip.
The key to everything that follows: cut parallel to the stone, not perpendicular. Stand the mango with stem up, look at the thinner profile, and you're seeing the stone's axis.
Technique 1: hedgehog (favorite, no peeling)
This is the technique we use daily in our kitchen. Fast, clean, zero waste, and pretty to serve on the table. If you only learn one, learn this.
- Stand the mango on the board, stem up.
- Identify the stone axis — the narrower face.
- With a sharp knife, slice the two cheeks about 1 cm from centre on each side. You get two "slabs" of flesh with skin and a central "trunk" with the stone.
- Take a cheek and, with a small knife, score the flesh in a grid (crosswise cuts, every 1.5-2 cm) without piercing the skin.
- Push the skin up from below with your thumbs. The flesh cubes pop out — you get a visually beautiful mango hedgehog.
- Slice the cubes off with the knife into a bowl, or eat the hedgehog as is with a teaspoon.
- Repeat with the other cheek.
For the side strips around the stone — the flesh still stuck to the central trunk — peel the skin with a small knife and cut what you can. And the flesh clinging to the stone you eat standing at the sink: it's the cutter's privilege, enshrined in every mango-eating culture on the planet.
In many Granada kitchens they say "he who splits the mango eats the stone". Not a punishment — a prize.
Technique 2: scoop (mango halves)
When you're in a hurry, at the beach, or just don't care about presentation:
- Split the mango in half along the stone axis, like you'd open an avocado. Try to follow the stone, even if you catch it slightly.
- If the stone ends up in one half, trim around it with a small knife and pop it out whole.
- Grab a teaspoon — dessert-spoon sized — and eat the flesh straight from the skin, like half a melon.
Favorite method for quick breakfast. No board, no big knife, no plate to wash. An Osteen eaten this way outdoors on a September morning, with a coffee on the side, is one of the best ways to start a day.
Technique 3: peeled cubes (for salads and tartares)
When you need clean, uniform cubes for salad, tartare, ceviche or skewers:
- Peel the whole mango with a potato peeler. Yes, peeler — not knife. Takes off less flesh, doesn't slip, leaves a smooth surface.
- Stand the peeled mango on the board. Watch out: it's slippier now.
- Slice the two cheeks as in technique 1.
- Cut each cheek into uniform cubes of the size you want (1 cm for salad, 0.5 cm for tartare).
- Cut the side strips into irregular bits and set aside for smoothies or juices.
Pro trick: squeeze a little lime or lemon over the cubes before boxing them. Boosts flavour and stops them browning if prepped in advance.
Technique 4: batons (for smoothies and sushi-style plates)
Less famous but very useful when you want to top a smoothie bowl or build a mango-avocado "sushi":
- Peel the mango as in technique 3.
- Slice the cheeks.
- Cut each cheek into long batons about half a centimeter thick, following the fruit's long direction.
- Use them whole as "nigiri" with avocado, or cut them into final cubes if they were for smoothies.
Common mistakes we see at home and in cooking classes
- Cutting perpendicular to the stone. The knife hits the stone on the first cut and you lose your plane. Result: irregular pieces and lots of waste.
- Peeling with a big knife. Ripe mango is soapy and slips. Always use a peeler or small knife.
- Cutting around the equator (like a kiwi). You end up with flesh stuck on all four sides of the stone, impossible to rescue without losing a lot.
- Not drying your hands. Mango is slippery on its own; wet hands multiply the danger. Towel nearby.
- Dull knife. A dull knife crushes the flesh instead of cutting it. Sharpening takes 30 seconds and changes the experience.
Skin yes or skin no?
Mango skin is edible — it won't poison you — but it's not pleasant: fibrous, slightly bitter and with oils some people find irritating.
Sensitive people (the same ones who react to raw cashew or poison sumac, which are botanical cousins) can develop a reaction to urushiol in the skin. In that case, wear gloves while handling and don't eat it. We as a family and as growers simply don't eat it.
What to do with the stone (don't throw it)
After rescuing the last bit of flesh, don't send the stone to the green bin yet. It has two interesting destinies:
- Germinate: sun-dry it for two days, open it carefully (it's tough; use a paring knife and be patient) and extract the inner seed. Planted in bright soil, it germinates in 2-3 weeks. Won't fruit indoors at scale — needs subtropical — but you'll have a beautiful ornamental plant for years.
- Flavour drinks: the stone keeps aromas. Drop it in a jug of cold water with a lemon slice for a couple of hours. You get water with a subtle mango note you wouldn't get otherwise.
The right knife
No need for a 150-euro Japanese knife. A medium kitchen knife (20-22 cm) sharpened for the cheeks, and a small paring knife (10 cm) for scoring the hedgehog grid and peeling. Add a decent potato peeler and you have the full kit.
Sharpener: any does the job. A 15-euro sharpener holds its edge through a whole mango season.
Once you've mastered the technique, try it on a box of ours — pick your box in the shop.
Sources and references
Technical data verified against the following scientific and agronomic sources:
- CSIC La Mayora — Spanish Subtropical Horticulture Institute — Spanish research on subtropical mango cultivation
- FAO — UN Food and Agriculture Organization — International mango production and post-harvest
- BEDCA — Spanish Food Composition Database — Mango nutritional composition
- UC Davis Postharvest Centre — Mango — Post-harvest handling (world reference)
- PubMed/NCBI — Mango ripening — Research on ripening and ethylene